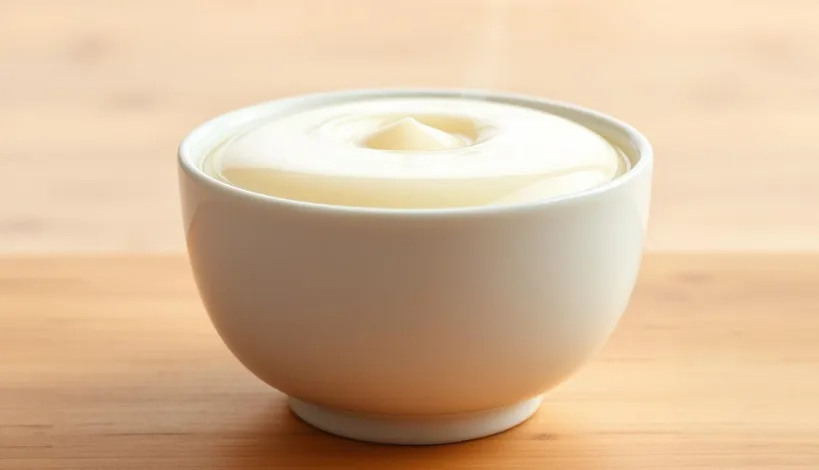
Ever wondered why some puddings are silky smooth, while others have holes or crumbs? I spent a lot of time in the kitchen figuring it out. Now, I’m excited to share my journey and the secrets for a flawless pudding every time.
When I first made vanilla pudding, I was frustrated with the uneven texture. But, I found that using natural ingredients and precise techniques makes all the difference. Making this dessert doesn’t have to be hard—just a few simple steps can make it amazing.
In this guide, I’ll show you how to make a smooth and creamy flavorful pudding. Whether you’re new to cooking or experienced, these tips will help you make a delicious pudding. Let’s get started!
Table of Contents
My Personal Journey with Homemade Pudding
Pudding was more than a dessert to me growing up—it was a treat. I loved waiting for my mom to give me a creamy cup of pudding after school. It was my comfort food and sparked my love for pudding.
As I got older, I wanted to make that magic in my kitchen. I tried different flavors like vanilla and caramel. I started with boxed mixes but soon found homemade pudding was better. It had a richer flavor.
Understanding each ingredient was key. I learned that whole milk made it creamier, and a bit of vanilla extract made it taste better. Every minute I practiced helped me get better at making unique puddings.
Now, making homemade pudding is a tradition in my kitchen. It reminds me of how far I’ve come. If you’re starting out, don’t be afraid to try new things. With patience and the right ingredients, you’ll be amazed at what you can make.
| Ingredient | Role in Pudding |
|---|---|
| Whole Milk | Adds creaminess and richness |
| Vanilla Extract | Enhances flavor |
| Cornstarch | Thickens the mixture |
| Egg Yolks | Provides smooth texture |
Essential Ingredients and Kitchen Tools
Creating a smooth and creamy dessert starts with the right ingredients and tools. The quality of what you use can greatly affect the final result. From the type of milk to the mixing bowl, every detail is important.
Choosing Quality Ingredients
When it comes to ingredients, whole milk is essential. It adds richness and creaminess that lower-fat options can’t match. I always choose fresh, high-quality milk for the best texture.
Sugar is also key. Natural sweeteners like cane sugar enhance the flavor without overpowering it. And don’t forget butter—it gives a silky finish that’s hard to beat.
Here’s my checklist for ingredients:
- Whole milk for creaminess
- Natural sugar for balanced sweetness
- Fresh butter for a smooth texture
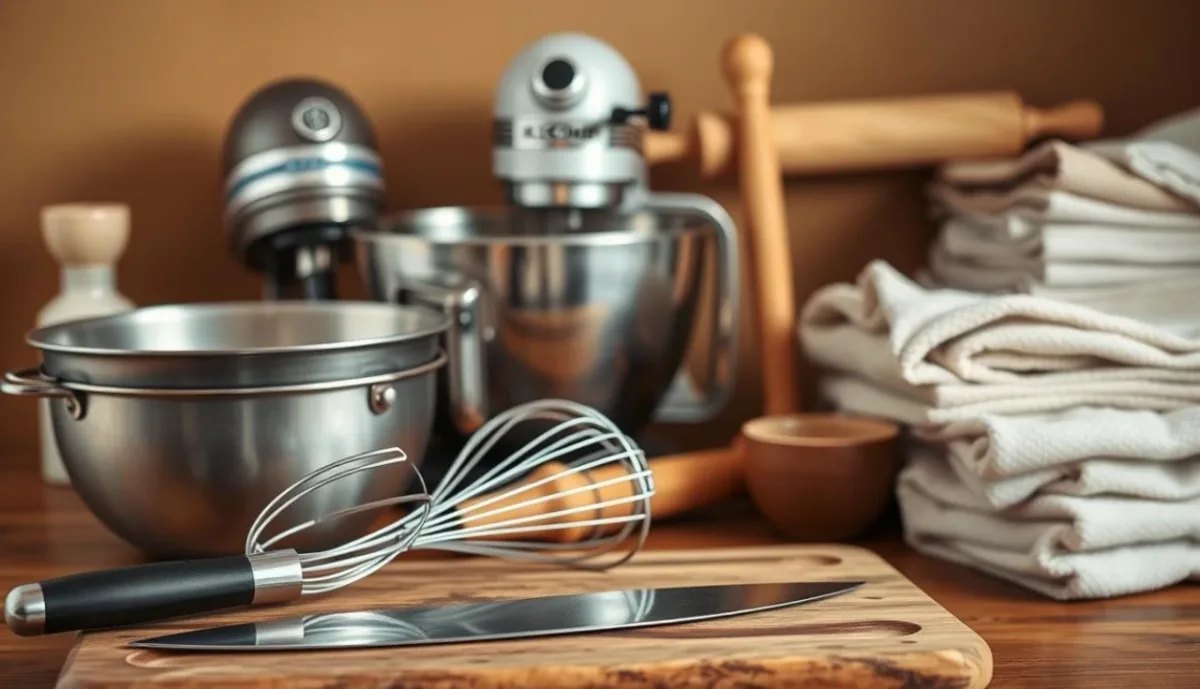
Must-Have Utensils and Equipment
The right tools make the process easier and more efficient. A sturdy mixing bowl is key for mixing without spills. I choose stainless steel for its durability and easy cleaning.
A good whisk is essential. It blends ingredients smoothly and prevents lumps. For precise measurements, I use a set of measuring cups and spoons.
Here’s my list of essential tools:
- Stainless steel mixing bowl
- High-quality whisk
- Measuring cups and spoons
By focusing on quality ingredients and the right tools, you’re setting yourself up for success. These essentials will help you create a dessert that’s as smooth as it is delicious.
Mastering the Art of Custard: A Step-by-Step Guide
Crafting a smooth custard is an art that requires patience and precision. Whether you’re a beginner or a seasoned cook, this guide will walk you through the essential steps to create a silky, lump-free dessert. Let’s dive into the process, from mixing to final touches.
Mixing and Tempering Techniques
Start by whisking together your dry ingredients. In a bowl, combine 2 tablespoons of cornstarch, 1/4 teaspoon of salt, and 1/3 cup of sugar. This ensures even distribution and prevents clumping.
Next, temper your egg yolks. Gradually add a small amount of warm milk to the yolks while whisking constantly. This step prevents the eggs from scrambling when mixed with the hot liquid.
Heating, Thickening, and Final Touches
Heat 2 cups of whole milk in a saucepan over medium heat. Once warm, slowly pour the tempered egg mixture into the milk, stirring continuously. Add the cornstarch slurry and continue to stir until the mixture thickens.
Remove from heat and stir in 1 teaspoon of vanilla extract. For extra richness, add a tablespoon of butter. This step enhances the flavor and gives the custard a silky finish.
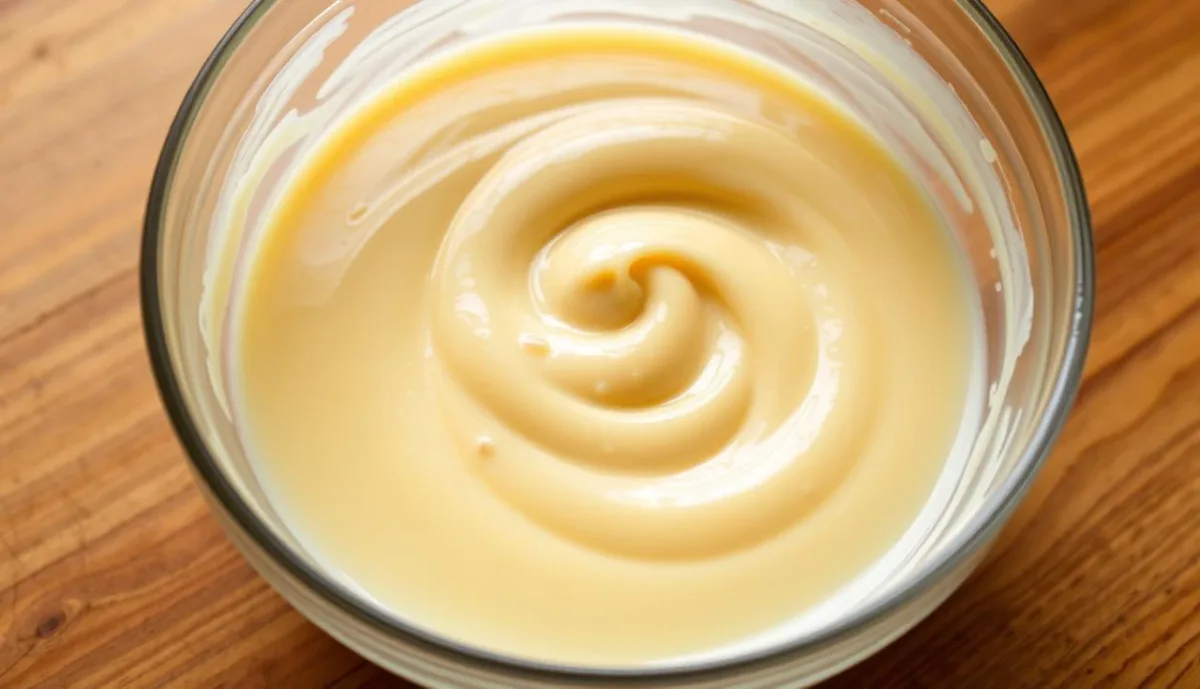
Preventing Lumps and Ensuring Smoothness
To avoid lumps, always use a whisk and stir constantly. If you notice any clumps, strain the custard through a fine-mesh sieve. This ensures a smooth texture every time.
Let the custard cool for a few minutes before transferring it to serving dishes. Cover with plastic wrap to prevent a skin from forming. Chill for at least an hour before serving.
“The key to a flawless custard is patience and attention to detail. Take your time, and the results will be worth it.”
Secrets to Making the Perfect Pudding
Achieving the ideal texture in your dessert is all about mastering the details. From the ingredients you choose to the techniques you apply, every step plays a role in creating a rich and smooth treat. Let’s dive into the secrets that make all the difference.
Achieving a Luscious Texture
One of the key factors in creating a smooth dessert is the use of cream. Replacing milk with whipping cream adds richness and a velvety finish. This simple swap can elevate your recipe to a whole new level.
Adjusting the amount of sugar is another game-changer. Too much can overpower the flavor, while too little can leave the dessert bland. Finding the right balance ensures a sweet yet nuanced taste.
Here are my top tips for perfecting the texture:
- Use whipping cream for a richer consistency.
- Experiment with sugar levels to suit your taste.
- Pay attention to timing during each step of the process.
Timing is key. Overcooking can lead to a grainy texture, while undercooking may result in a runny dessert. Stirring constantly and monitoring the heat ensures a smooth and consistent outcome.
Through my own experiments, I’ve learned that small adjustments can make a big difference. Whether it’s tweaking the recipe or refining your technique, each step builds toward the perfect result. Don’t be afraid to try new things—every lesson brings you closer to mastering the art of dessert-making.
Exploring Flavor Variations and Additions
Experimenting with flavors can take your dessert to the next level, opening up endless possibilities for creativity. Whether you’re a fan of classic tastes or enjoy trying something new, adding unique ingredients can transform a simple recipe into a culinary masterpiece.
Vanilla, Chocolate, and Unique Extracts
One of the easiest ways to enhance your dessert is by using vanilla or chocolate extracts. A few extra drops of vanilla can bring out a rich, aromatic flavor, while chocolate extract adds a deep, indulgent taste. For a twist, try unique extracts like almond, coconut, or even brandy. These small additions can make a big difference.
Here’s a quick tip: Always measure extracts carefully. A single tablespoon can elevate the flavor without overpowering the dish. I’ve found that combining vanilla with a hint of almond extract creates a delightful layer of complexity.
Customizing with Cream and Other Ingredients
Another way to customize your dessert is by experimenting with cream and other ingredients. Replacing regular milk with whipping cream adds richness and a velvety texture. For a lighter option, try using half-and-half or even coconut milk.
I’ve also enjoyed adding unexpected ingredients like caramel or diced bananas. These additions not only enhance the flavor but also create interesting textures. For example, layering caramel between the dessert adds a sweet, gooey surprise in every bite.
Here are some of my favorite combinations:
- Vanilla extract with a splash of brandy
- Chocolate extract with whipped cream
- Caramel and diced bananas for a fruity twist
By exploring these variations, you can create a dessert that’s uniquely yours. Don’t be afraid to try new things—every step brings you closer to mastering the art of flavor customization.
Tips for Avoiding Holes and Crumbs
Creating a smooth dessert without holes or crumbs is easier than you think. With a few simple adjustments, you can achieve a flawless texture every time. Let’s explore the common pitfalls and how to overcome them.
Common Pitfalls and How to Overcome Them
One of the most common mistakes is improper stirring. If you don’t whisk the mixture consistently, lumps can form, leading to an uneven texture. Always use a whisk and stir continuously, specially when adding ingredients like cornstarch or egg yolks.
Overheating is another issue. Cooking the mixture too quickly can cause it to curdle or develop holes. Keep the heat medium-low and monitor it closely. A good rule of thumb is to stir for at least one minute after adding each ingredient.
Using plastic wrap correctly is essential. After pouring the mixture into a dish, press the wrap directly onto the surface. This prevents a skin from forming as it cools. It’s a small step that makes a big difference.
Pro Techniques for a Flawless Finish
For a lump-free finish, strain the mixture through a fine-mesh sieve before pouring it into the dish. This removes any clumps and ensures a silky texture. I also recommend using a teaspoon of vanilla extract for added flavor without overpowering the dish.
Timing is key. Overcooking can lead to a grainy texture, while undercooking may result in a runny dessert. Follow the recipe closely and use a timer to avoid mistakes. If you’re unsure, test the consistency by dipping a spoon into the mixture. It should coat the back evenly.
Here’s a quick summary of my top tips:
| Issue | Solution |
|---|---|
| Lumps | Strain the mixture |
| Overheating | Cook on medium-low heat |
| Skin Formation | Use plastic wrap |
| Uneven Texture | Stir continuously |
By following these techniques, you’ll create a dessert that’s as smooth as it is delicious. Remember, practice makes perfect—every step brings you closer to mastering the art of baking.
Creative Dessert Ideas: From Pudding Cups to Banana Pudding Trifles
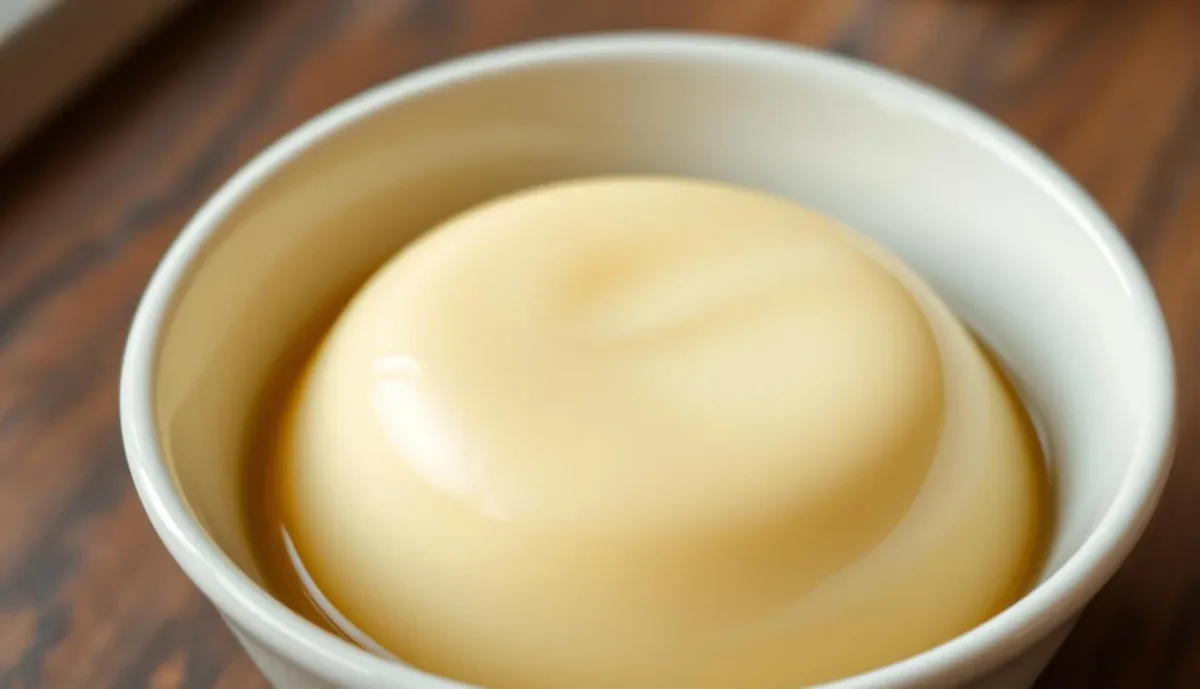
Why settle for a basic bowl when you can elevate your dessert with imaginative presentations? From elegant cups to layered trifles, there’s no limit to how you can serve your favorite treat. Let’s explore some creative ideas that will make your next dessert a showstopper.
One of my favorite ways to serve vanilla pudding is in individual cups. These miniature desserts are not only adorable but also perfect for portion control. Layer the pudding with fresh fruit, crumbled cookies, or a drizzle of chocolate sauce for added flair. It’s a simple yet elegant way to impress your guests.
For a more indulgent option, try a classic banana pudding trifle. Start by layering slices of banana, vanilla pudding, and whipped cream in a trifle dish. Add crumbled shortbread cookies for a crunchy texture. Repeat the layers until the dish is full, finishing with a dollop of whipped cream on top. It’s a crowd-pleaser that’s as beautiful as it is delicious.
Here’s a quick guide to creating a stunning trifle:
- Layer sliced bananas at the bottom of the dish.
- Add a generous layer of vanilla pudding.
- Top with whipped cream and crumbled cookies.
- Repeat the layers until the dish is full.
Presentation is key when it comes to desserts. Use clear glass dishes to showcase the layers, and garnish with fresh fruit or a sprinkle of cocoa powder. A well-presented dessert not only tastes better but also adds a touch of sophistication to your table.
Here are some of my favorite flavor pairings:
| Base | Accent |
|---|---|
| Vanilla Pudding | Fresh Berries |
| Chocolate Pudding | Whipped Cream |
| Banana Pudding | Crumbled Cookies |
“A beautifully presented dessert is the perfect way to end any meal. It’s not just about taste—it’s about creating an experience.”
With these ideas, you can turn a simple dessert into a memorable treat. Whether you’re serving pudding in cups or layering it in a trifle, the possibilities are endless. Get creative and enjoy the process!
Time-Saving Tips, Batch Preparation, and Storage
Busy schedules don’t have to mean skipping dessert—here’s how to prepare ahead and save time. Whether you’re making a classic vanilla pudding or a rich chocolate pudding, these tips will help you enjoy your favorite treat without the stress.
Make-Ahead Strategies for Busy Days
Preparing desserts ahead of time can save up to 30% of your time. Start by doubling your recipe and cooking in batches. This way, you’ll have enough for multiple servings throughout the week.
To prevent a skin from forming, press plastic wrap directly onto the surface of the mixture before refrigerating. This simple step keeps the texture smooth and creamy.
Here’s my go-to plan for batch preparation:
- Double the ingredients for larger quantities.
- Use airtight containers to store individual servings.
- Label containers with the date to track freshness.
Proper Refrigeration and Storage Techniques
Storing your dessert correctly ensures it stays fresh and delicious. Keep it in the fridge at a consistent temperature, ideally below 40°F. For longer storage, freeze portions in airtight containers or freezer bags.
When reheating, use medium heat and stir frequently to maintain the creamy texture. Add a teaspoon of milk or cream if the mixture seems too thick.
Here’s how to store different types of desserts:
| Dessert | Storage Method |
|---|---|
| Vanilla Pudding | Refrigerate for up to 3 days |
| Chocolate Pudding | Freeze for up to 1 month |
| Trifle | Store layers separately in airtight containers |
By following these tips, you can enjoy your favorite desserts any day of the week. With a little planning, you’ll always have a sweet treat ready to serve.
Conclusion
Mastering the art of a creamy dessert is all about patience and the right techniques. From choosing whole milk to perfecting the mixture, every step matters. Using quality ingredients like vanilla extract and fresh butter ensures a rich, smooth texture.
Timing and heat control are key. Stirring constantly prevents lumps, and pressing plastic wrap onto the surface avoids a skin from forming. These small details make a big difference.
Don’t be afraid to experiment. Whether it’s a classic chocolate recipe or a layered trifle, creativity can elevate your dessert. The journey to mastering this treat is rewarding and full of delicious possibilities.
With practice and attention to detail, you’ll create a dessert that’s as smooth as it is satisfying. Enjoy the process and savor every bite!
FAQ
What’s the secret to a smooth custard without lumps?
The key is to temper the eggs by slowly adding hot milk to the egg mixture while whisking constantly. This prevents curdling and ensures a silky texture.
Can I use almond milk instead of whole milk for pudding?
Yes, you can substitute almond milk, but the texture might be slightly thinner. For best results, add a bit more cornstarch to help thicken the mixture.
How do I prevent a skin from forming on top of my pudding?
Cover the surface with plastic wrap directly touching the pudding. This keeps air out and prevents a skin from forming as it cools.
What’s the best way to store leftover pudding?
Store it in an airtight container in the refrigerator. It stays fresh for up to 3 days. Stir well before serving if it separates slightly.
Can I make pudding ahead of time for a party?
Absolutely! Pudding is a great make-ahead dessert. Prepare it a day in advance and keep it refrigerated. Add toppings like whipped cream or fruit just before serving.
How can I make chocolate pudding from a vanilla base?
Add 1/4 cup of cocoa powder or melted chocolate to the vanilla mix. Adjust the sugar to balance the sweetness. Enjoy a rich chocolate version.
What’s the role of cornstarch in pudding?
Cornstarch thickens the mixture. It makes the pudding creamy and sets it well.
Can I use vanilla extract instead of a vanilla bean?
Yes, vanilla extract is fine. Use 1 teaspoon of extract for every vanilla bean needed.
How do I fix a runny pudding?
If your pudding is too thin, mix 1 tablespoon of cornstarch with cold milk. Whisk it into the warm pudding. Heat gently until it thickens.
What’s the best way to layer a banana pudding trifle?
Start with vanilla custard, then add sliced bananas. Top with whipped cream or vanilla wafers. Repeat the layers and finish with a dollop of cream on top.


